Basics to advanced · 15 minutes
Make your own View.
Start with one complete panorama. Locus can turn it into the scenery around any Room, then save your direction and appearance adjustments with that View.
Basic
Import one panorama
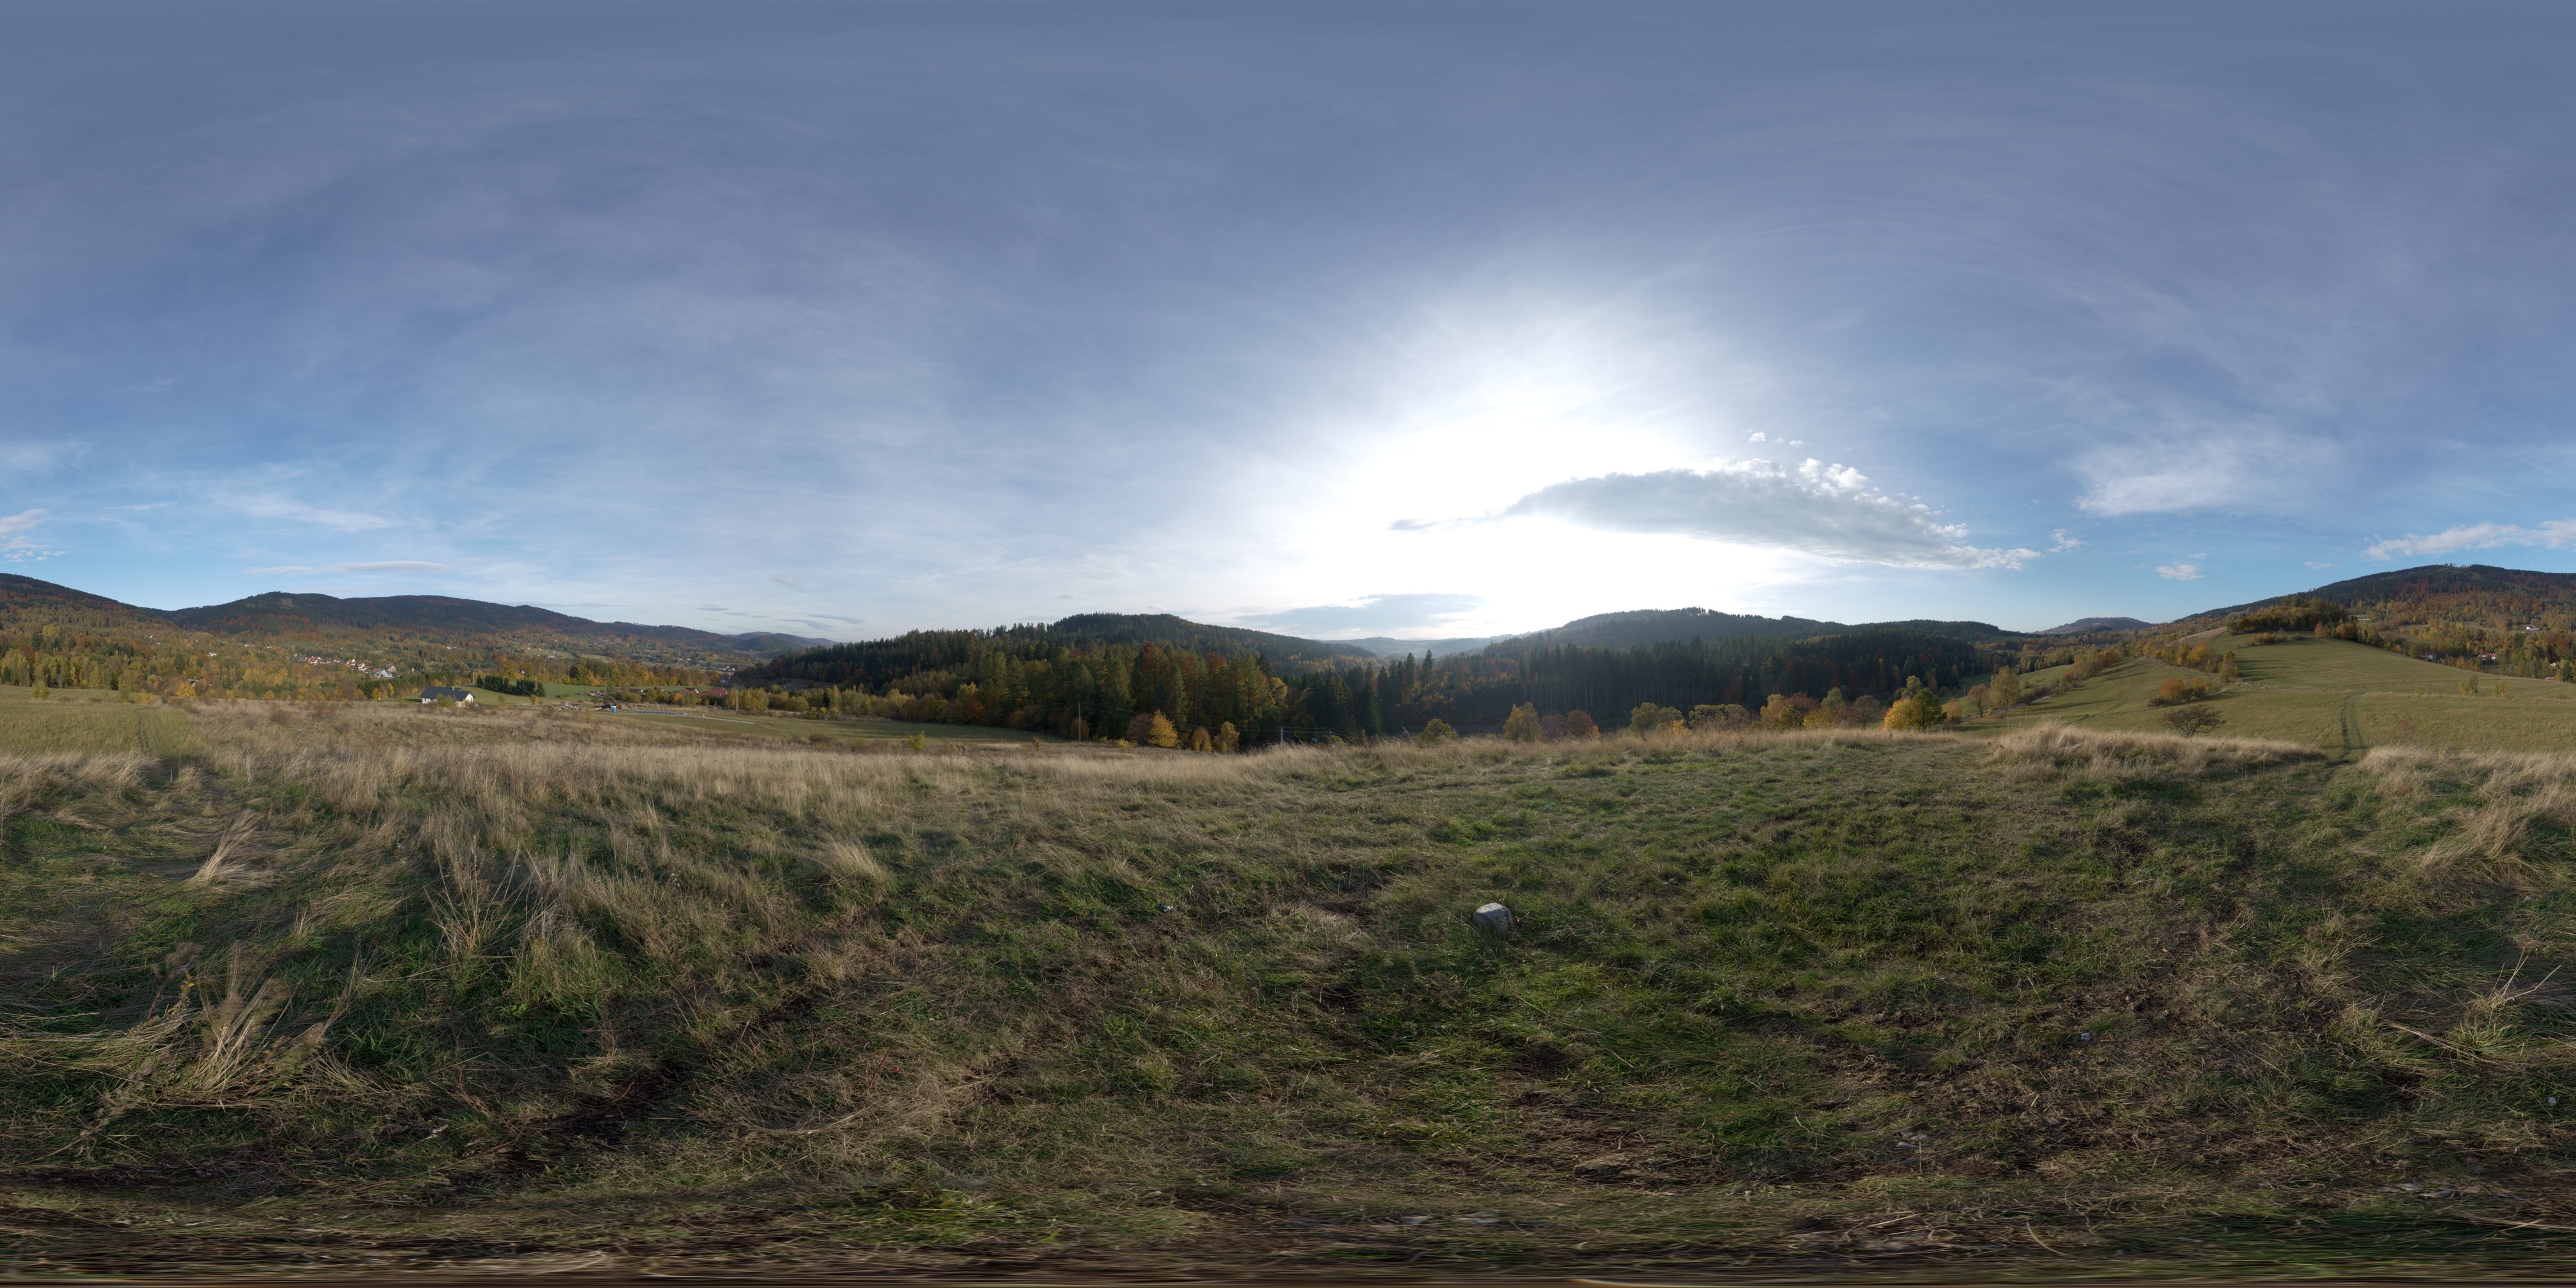
Your image must be complete and 2:1. Use a JPEG, PNG, or HEIC that is at least 4,096 × 2,048 pixels. A recommended size is 12,288 × 6,144.
- Open Library, then Import Your Own.
- Choose Import a View. Pick Photos, Files, or URL.
- Select the panorama. For URL, paste a direct public HTTPS image link rather than a webpage.
- Wait while Locus prepares it. Locus creates the images it needs for preview and Room lighting on your device.
- Open it in Places. Pair the new View with any Room, then choose Enter.
If the panorama is already online, the faster route is Apply a panorama from Locus Browser. You can try it without using an import first.
Better results
Prepare the image before importing
- Level the horizon. A tilted horizon will feel like the whole world is leaning.
- Put the first view in the center. The direction you want to face first belongs at the horizontal center of the image.
- Inspect the seam at full size. The left and right edges meet behind you. Look for jumps in walls, railings, water, clouds, lighting, and texture.
- Keep it SDR. Locus accepts JPEG, PNG, and HEIC images. HDR, EXR, cube maps, video, and interactive viewers are not View images.
- Keep the original. Make adjustments on a copy so you can return to the source later.
In Locus
Fine-tune the View
In Places, open the menu for your View and choose Edit View. Adjust Turn the View first, then View Brightness, Contrast, Color, Room Lighting, and optional Sunlight. These settings are saved for this View.
Separate what you see from how the Room is lit. View Brightness changes the panorama. Room Lighting changes how strongly that View lights the 3D Room.
Advanced
Package a reusable View
A View ZIP lets you ship the panorama with a thumbnail, provenance, starting direction, appearance, Room-lighting image, and optional sunlight. Keep every file at the ZIP root:
my-view.zip
├── view.json
├── provenance.json
├── panorama.jpg
├── thumbnail.jpg
└── lighting.jpg # optional- Create the panorama and thumbnail. Keep the panorama complete and exactly 2:1.
- Describe the View in view.json. Set its display name, dimensions,
panorama.initialYawDegrees, appearance, and optional sun. - Record provenance. State who made it, what rights apply, what changed, and whether AI was used.
- Pack and validate the flat ZIP. Use the public tools before sharing or importing it.